


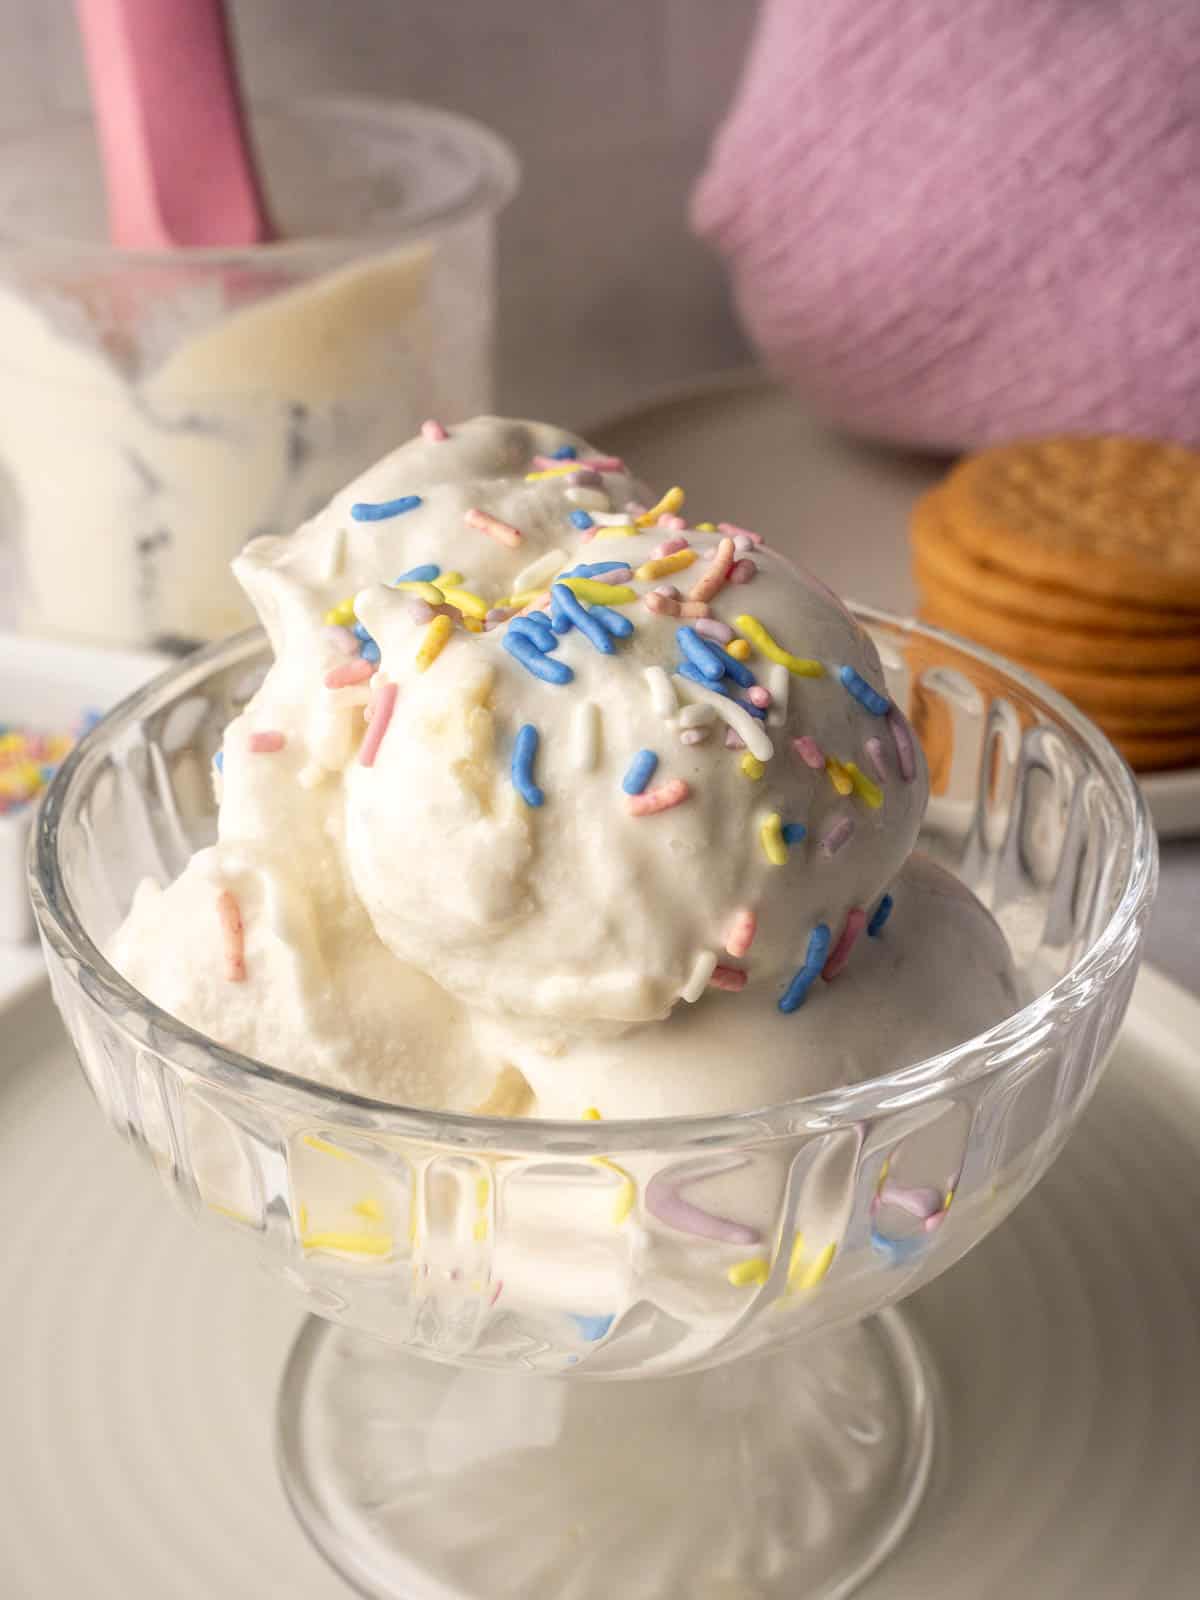
This healthier Ninja Creami vanilla ice cream is a recipe I often recommend as a registered dietitian when you want a classic vanilla flavor made with simpler ingredients. It uses regular milk instead of condensed milk, with just a small amount of heavy cream, and delivers calcium and protein in every scoop.
A Quick Look At This Recipe
✅ Recipe Name: Healthier Ninja Creami Vanilla Ice Cream Recipe
🕒 Ready In: ~5 minutes active prep + 24 hours freezing
👪 Serves: 1 generous serving (can easily be doubled)
🍽 Calories & Protein: ~180 calories per serving, 9g protein
🥛 Main Ingredients: Milk, heavy cream, vanilla pudding mix, vanilla essence
📖 Dietary Info: Gluten-free, vegetarian, high calcium
⭐ Why You'll Love It: Simple ingredients, healthier than store-bought, kid-friendly, customizable
Vanilla ice cream is one of those foods that sounds simple but often ends up surprisingly complicated once you start looking at ingredients. Many Ninja Creami vanilla recipes rely on condensed milk, cream cheese or large amounts of cream to get the right texture, which isn’t always what people want day to day.
This version takes a more straightforward approach, using regular milk as the base with just a small amount of heavy cream. If you’re looking for a higher-protein option, I also have a Ninja Creami protein ice cream recipe, but this one is about classic flavor and ease rather than macros.
I don't have kids yet, but I know this recipe will be a staple when I do.
If you're just starting your Ninja Creami journey, I highly recommend checking out my 12 Ninja Creami Tips guide. It covers everything I wish I'd known when I first started using this machine.
Jump to:
- A Quick Look At This Recipe
- Why This Recipe Is Good for You
- Key Ingredients
- Ingredient Substitutions
- Equipment
- How To Make This Ninja Creami Vanilla Ice Cream
- Marias Expert Tips for Making This Recipe
- Serving Suggestions
- Storage
- FAQ
- More Ninja Creami Recipes You'll Love
- Want to Learn About Nutrition?
- 📖 Recipe
- 💬 Comments
Why This Recipe Is Good for You
- Each serving delivers approximately 9 grams of protein and a significant amount of calcium.
- Calcium is essential for bone health, muscle function, and nerve signaling. Many of us, especially women, struggle to get enough calcium in our diets, so this is genuinely a delicious way to boost your intake.
- Unlike many homemade ice cream recipes that rely heavily on heavy cream or condensed milk, this recipe uses regular milk as the primary ingredient. This keeps the saturated fat content reasonable while still delivering that creamy texture we all love.
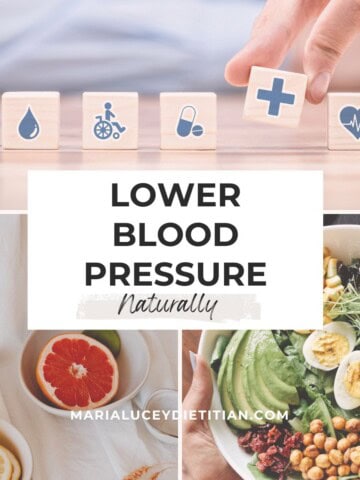
- If you’re unsure how foods like dairy fit into heart health, I break this down in more detail in my heart health nutrition content.
- The vanilla pudding mix might raise some eyebrows, but using a no-added-sugar variety means you're getting the creamy texture and vanilla flavor without loads of extra sugar. And honestly, when you're making ice cream at home with mostly milk, a tablespoon of pudding mix used in moderation is absolutely fine.
Key Ingredients
The complete ingredient list with measurements can be found in the recipe card below.
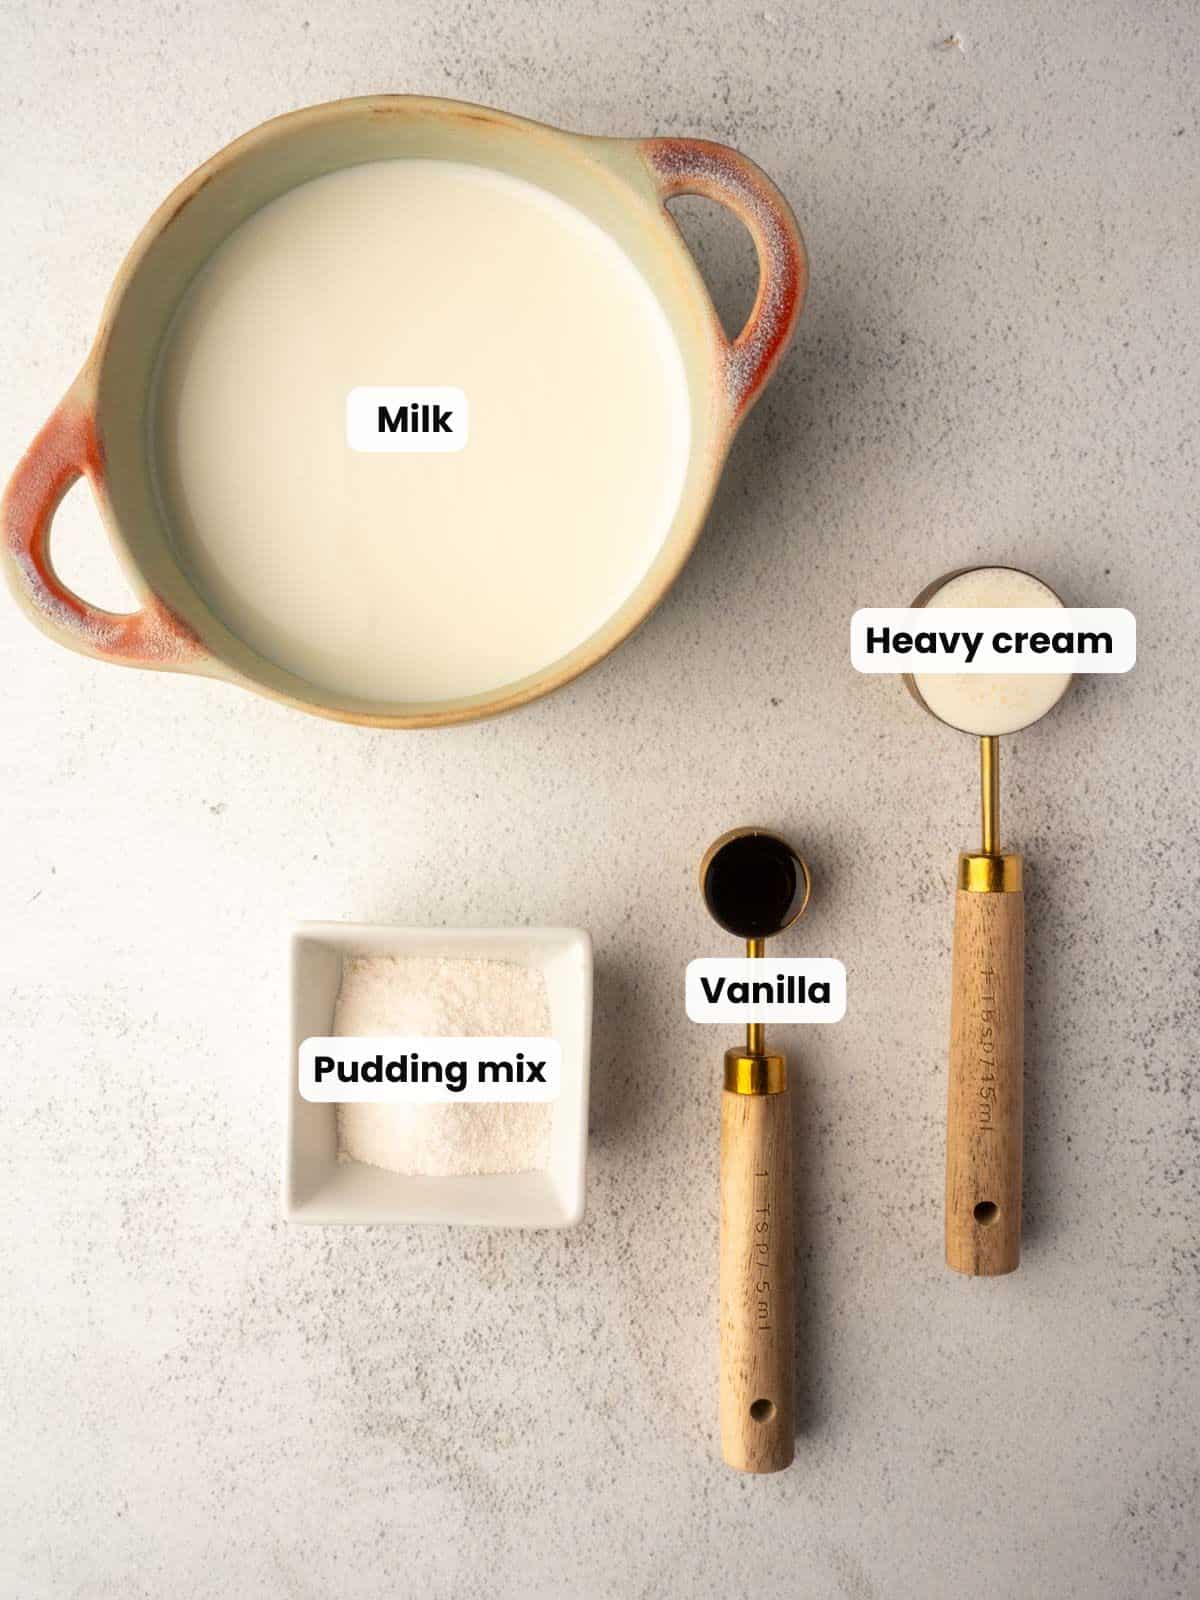
- Milk: I strongly recommend using full-fat milk (whole milk) for this recipe. I know some people shy away from full-fat dairy, but the reality is that full-fat milk is still only about 4% fat. That's still a very low-fat food. The difference in fat content between whole milk and reduced-fat milk is minimal, but the difference in texture is huge. Full-fat milk creates a much creamier, less icy ice cream. If you only have 2% milk on hand, it will work, but the texture won't be quite as smooth.
- Heavy Cream: Just one tablespoon. This adds richness and helps prevent iciness without going overboard on saturated fat.
- Vanilla Pudding Mix: This is the secret ingredient that gives you that classic ice cream texture. I use a no-added-sugar vanilla pudding mix to keep the sugar content in check. The pudding mix contains modified cornstarch, which helps create a smoother, creamier texture once frozen and processed.
- Vanilla Essence: Use pure vanilla extract if you have it. Vanilla essence works fine too, but pure extract will give you a richer, more complex vanilla flavor. This is vanilla ice cream, so the quality of your vanilla does matter.
- Optional Honey: If you prefer your ice cream a bit sweeter, add a teaspoon of honey. I find the vanilla pudding mix provides enough sweetness for me, but taste is personal. You could also use maple syrup or a bit of granulated sugar.
Ingredient Substitutions
Here are some tips to help you adjust the recipe to suit your individual dietary needs and preferences. I only recommend swapping 1 - 2 ingredients, so the original recipe doesn't completely change.
- Dairy-Free/Vegan: Use a full-fat dairy-free milk like oat milk or coconut milk. Replace the heavy cream with coconut cream (the thick part from a can of full-fat coconut milk). Use a dairy-free vanilla pudding mix. Be aware that the protein content will be lower unless you're using a fortified plant-based milk.
- Lower Fat Version: Use 2% milk and skip the heavy cream entirely. Add an extra splash of milk if needed during the respin. The texture will be slightly icier, but it still works.
- Sugar-Free: Make sure you're using a no-added-sugar pudding mix and skip the honey. You can add a few drops of liquid stevia if you want it sweeter.
- Higher Protein: Add half a scoop of vanilla protein powder to the mixture before freezing. This will bump up the protein content significantly but may change the texture slightly. You might need to add a tablespoon or two of milk during respin. Check out my guide on how to choose the best protein powder if you're not sure which one to use.
Please note: This recipe has not been tested with other substitutions or variations. If you replace or add any ingredients, please let me know in the comments below! I'd love to hear how it worked out! 💛
Equipment
Ninja Creami: I have the regular model (not the deluxe) and it does everything I need.
Ninja Creami Pint Containers: Each recipe fills one standard Ninja Creami pint container. I'd recommend buying a few extra pint containers so you can prep multiple at once. Just make sure they're compatible with your specific Ninja Creami model. The NC299 and NC300 pints are different from the NC100, NC200, and NC500 series.
Blender or milk frother to combine all the ingredients in the beginning. I like to use a milk frother for this recipe as its easier clean up and were not blending any fruit or dense ingredients.
How To Make This Ninja Creami Vanilla Ice Cream
Below are the simple steps for how to make this recipe with visuals I hope are helpful! Don't forget to check out the recipe card at the bottom for the full recipe.

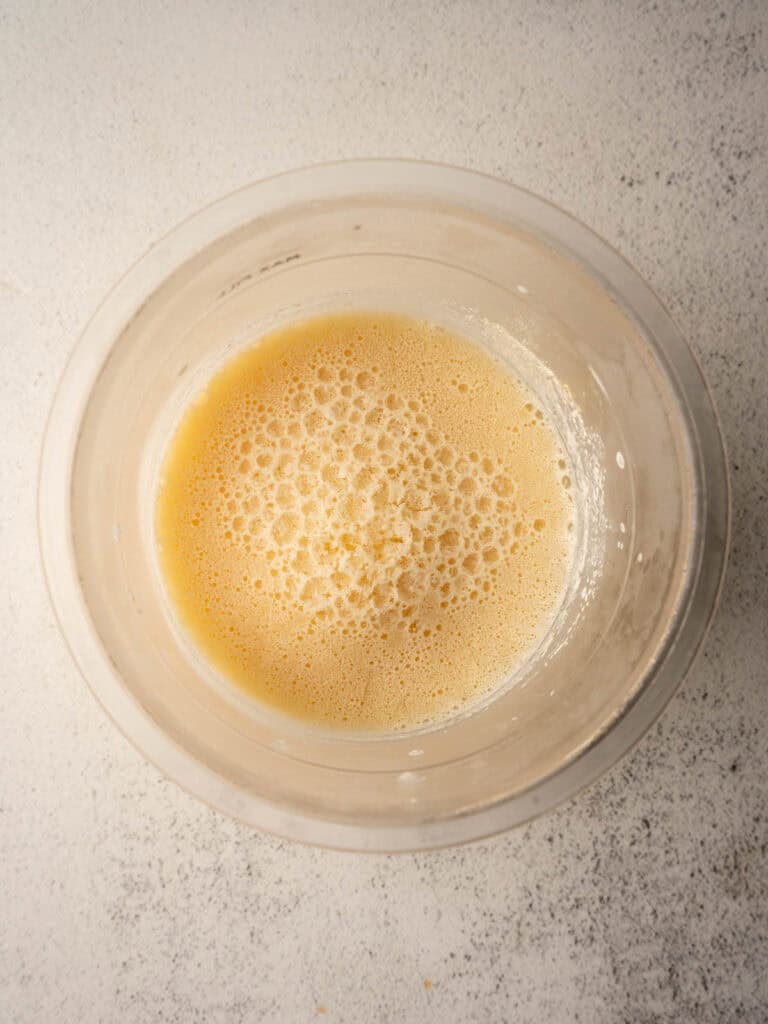
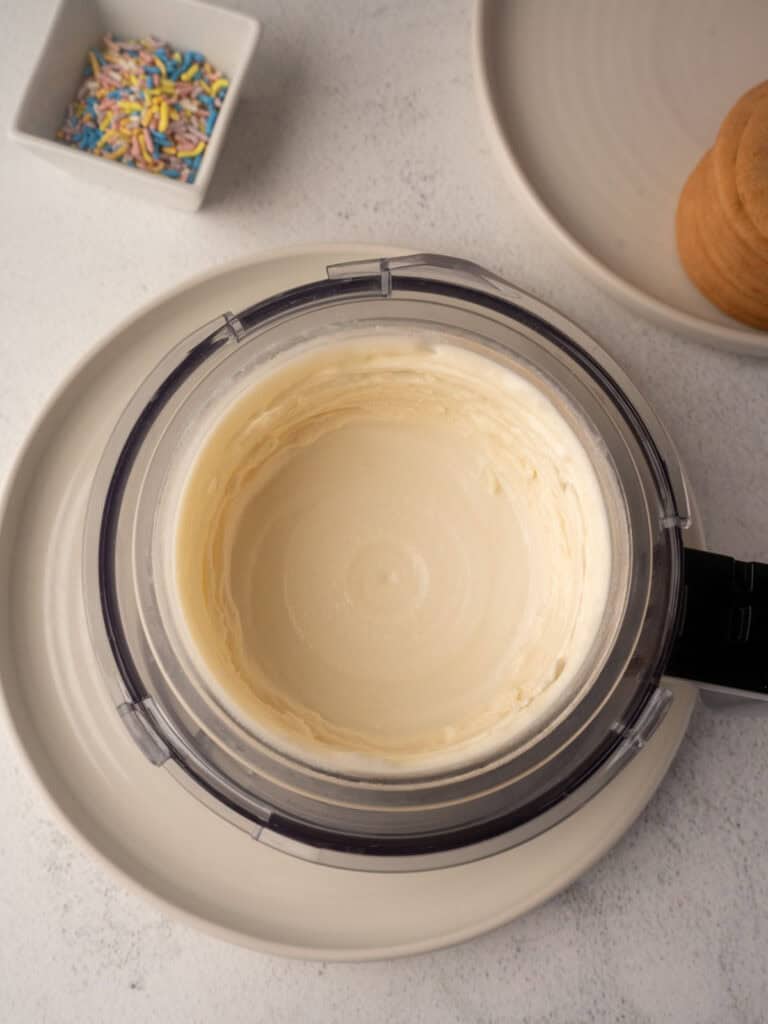
Blend or whisk together the milk, heavy cream, vanilla essence, and vanilla pudding. If you're using honey for extra sweetness, add it now. Pour the mixture into your Ninja Creami pint container (keeping under the max fill line) and place it in the freezer for 24 hours.
When you're ready for ice cream, remove the frozen pint from the freezer. Run the outside of the container under hot water for about 60 seconds (this helps the frozen block release slightly from the container). Remove the lid and install the pint into your Ninja Creami.
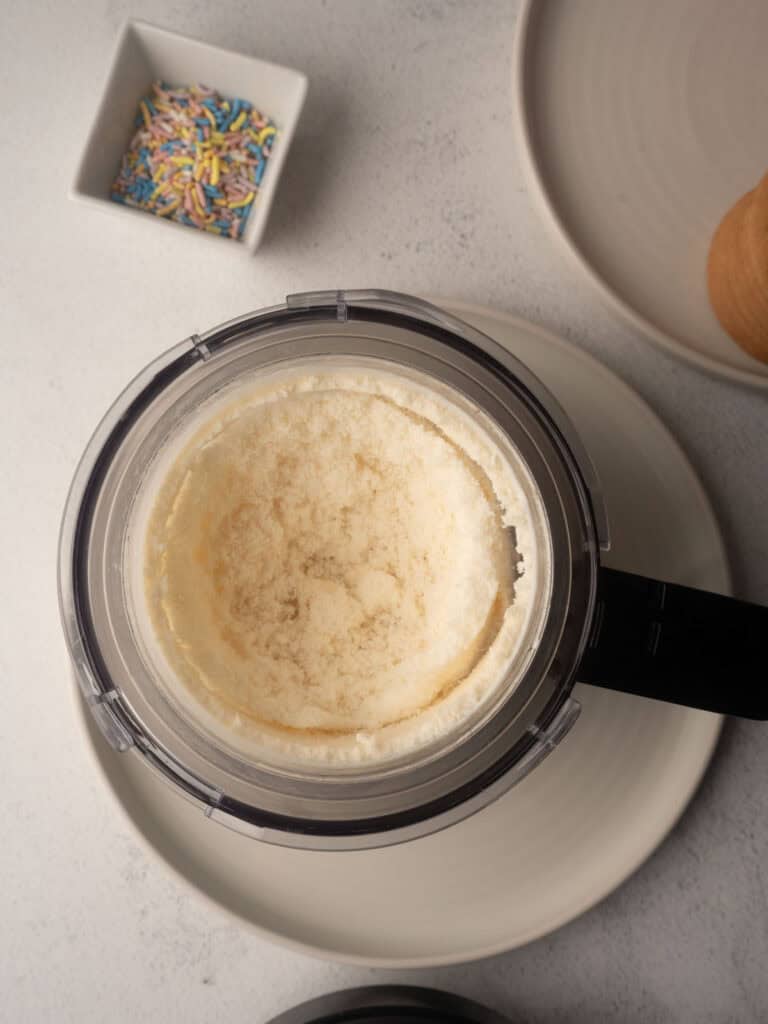
Select the lite ice cream function and let the machine work. Once the cycle finishes, check the texture. If the ice cream looks powdery, crumbly, or hasn't come together yet, don't panic, this is completely normal. Just press the respin button and run it again.
If after the respin your ice cream is still powdery or too thick, create a small hole in the center with a spoon and add 1-2 tablespoons of milk. Press respin again. The ice cream should now be smooth and creamy
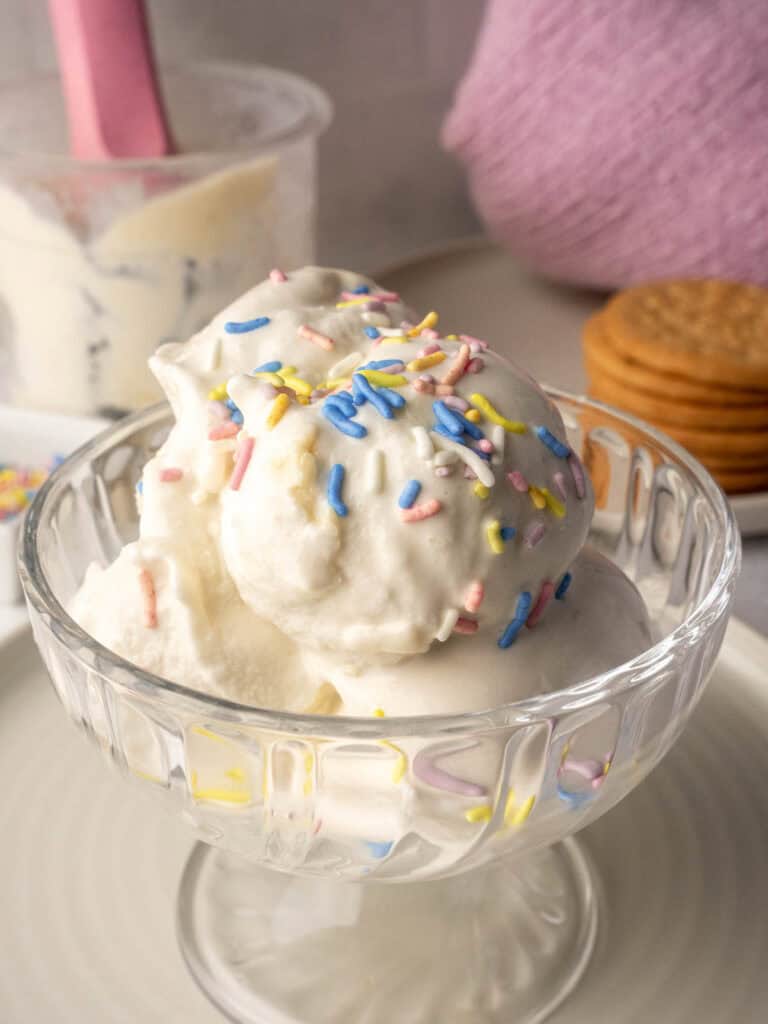
Your vanilla ice cream is ready! Scoop it into a bowl and enjoy immediately, or add mix-ins if you're making one of the variations. The texture is best when eaten right away,
Marias Expert Tips for Making This Recipe
Full-fat milk makes a difference: I know I mentioned this already, but it's worth repeating. The difference between ice cream made with whole milk versus reduced-fat milk is noticeable. Whole milk is only 4% fat (that's genuinely still a low-fat food) but it creates a much creamier texture. If you're going to make ice cream, use the milk that will give you the best result.
Dissolve the pudding mix completely: Those little lumps of pudding mix won't break down once frozen. Make sure it's fully dissolved before freezing. I like to blend everything for 30 seconds just to be sure.
Don't skip the hot water step: Running the frozen pint under hot water for 60 seconds before processing helps prevent those icy edges and makes the blade's job easier. It's a small step that makes a big difference.
The respin function is your friend: Most recipes need at least one respin, especially if your freezer is set to a very cold temperature. This is totally normal and nothing to worry about. Just hit respin and you'll be fine.
Eat it immediately for the best texture: Ninja Creami ice cream is best enjoyed right after processing. If you refreeze it, you'll need to run it through the machine again before eating. It's still delicious, just plan accordingly.
Save This Recipe! 💌
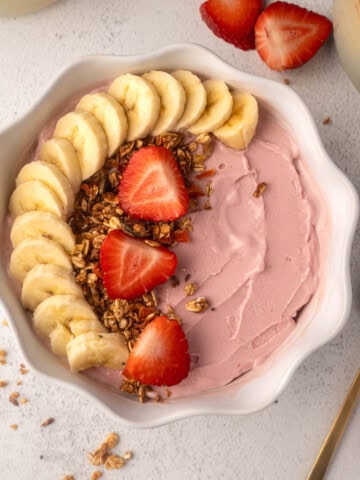
Serving Suggestions
This vanilla ice cream is lovely on its own, but it also works really well as a base if you want to turn it into more of a dessert.
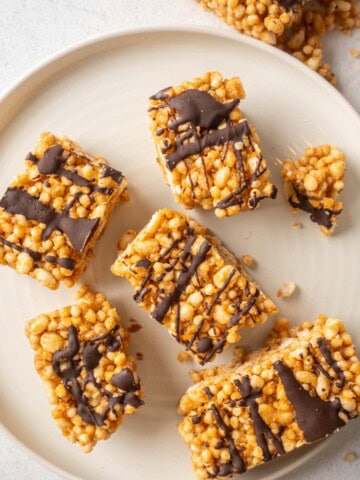
I often add some texture by crumbling a protein crisp bar or protein rice krispie squares over the top, which gives a nice crunch without much effort.
For something a little richer, a drizzle of date caramel sauce works great, or you can swirl through some raspberry chia jam if you want a fresher, slightly tart contrast.
It also pairs well with baked fruit, like warm air fryer apples, or even alongside something like my chocolate tahini cups if you’re serving it as part of a dessert spread. You can keep it simple or dress it up depending on the occasion.


Storage
Freezer (Before Processing): Once you've poured your mixture into the pint container, you can store it in the freezer for up to 3 months before processing. This makes it perfect for meal prep. I like to make 4-5 pints at once on a Sunday and then I have ice cream ready to process all week.
After Processing: Ninja Creami ice cream is best eaten immediately after processing. However, if you have leftovers or want to save some for later, you can return it to the pint container with the lid on and refreeze it. You'll need to run it through the ice cream or respin cycle again when you want to eat it.
Thawing: Never let your Ninja Creami base thaw before processing. It needs to be completely frozen solid for the machine to work.
FAQ
Yes because it's made with simple ingredients (mostly milk) and the sugar content is reasonable. Plus, kids are getting calcium and protein while enjoying a treat. There is no protein powder either which I don't recommend for children. I think this is a much better option than most store-bought ice creams that are loaded with additives and sugar.
This is a common misconception. Full-fat milk is only 4% fat, which is still considered a low-fat food. The difference in calories between whole milk and 2% milk is minimal (about 30 calories per cup), but the difference in taste and texture is significant. Unless you have a specific medical reason to avoid fat, there's no reason to fear whole milk. The saturated fat in dairy has not been shown to increase heart disease risk the way we once thought it did.
Yes, you can swap the pudding mix for protein powder, but it will change the recipe. Protein powder will increase the protein content (obviously), but the pudding mix is what helps thicken the ice cream. Leaving it out can result in a more liquid texture once spun. If you want to omit the pudding mix, I would suggest adding half a banana to help thicken the base instead .For more guidance on choosing protein powder, check out my complete protein powder guide or learn more about how much protein you actually need.
More Ninja Creami Recipes You'll Love
If you enjoy recipes like this, you’ll find plenty more in my Ninja Creami recipes collection.
- Ninja Creami Protein Ice Cream - My go-to high-protein recipe
- Ninja Creami Smoothie Bowl - Perfect for breakfast
- 12 Ninja Creami Tips for Perfect Results - Everything you need to know
Want to Learn About Nutrition?
Here are some nutrition education articles from a dietitian! And if you have any questions, feel free to reach out - I'm here to help.

📖 Recipe

Healthier Ninja Creami Vanilla Ice Cream Recipe
Equipment
- Milk Frother blender or whisk
- Ninja Creami Pint Container
Ingredients
- 240 ml whole milk 1 cup
- 1 tablespoon heavy cream or double cream
- 1 teaspoon vanilla extract or vanilla essence
- 1 tablespoon vanilla pudding mix no added sugar preferred
- Optional: 1 teaspoon honey or maple syrup for extra sweetness
Instructions
- Add the milk, heavy cream, vanilla extract, and vanilla pudding mix to a blender or bowl. If using honey for extra sweetness, add it now. Blend or whisk until the pudding mix is completely dissolved and there are no lumps (about 30 seconds).240 ml whole milk, 1 tablespoon heavy cream, 1 teaspoon vanilla extract or vanilla essence, 1 tablespoon vanilla pudding mix, Optional: 1 teaspoon honey or maple syrup for extra sweetness
- Pour the mixture into your Ninja Creami pint container, keeping it just below the max fill line. Secure the lid.
- Freeze for at least 24 hours until completely frozen solid.
- When ready to enjoy, remove the frozen pint from the freezer. Run the outside of the container under hot water for about 60 seconds to help loosen the frozen block.
- Remove the lid and install the pint into your Ninja Creami machine. Select the lite ice cream function and let the machine complete its cycle.
- Once the cycle finishes, check the texture. If the ice cream looks powdery or crumbly, press the respin button and run it again.
- If after the respin the ice cream is still too thick or powdery, add 1-2 tablespoons of milk. Press respin again.
- Your vanilla ice cream should now be smooth and creamy. Scoop into a bowl and enjoy immediately for the best texture.


Comments
No Comments